
DIY Project Idea: How To Make a Lamp Out of Anything
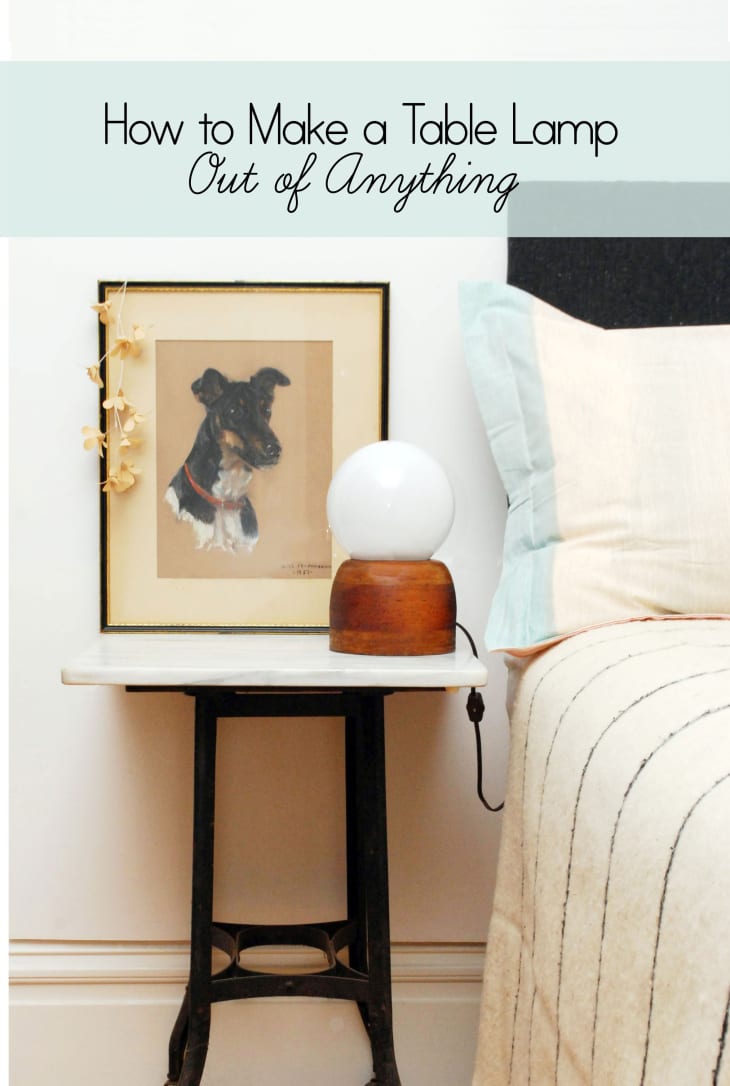
The key to making a table lamp is finding the correct socket set-up and mount. Some readymade kits already exist but, otherwise, you have to figure out what works best for your chosen vessel-turned-lamp base. I myself had a random wooden vase/candleholder that perfectly accommodated a basic globe shade from the hardware store. It was screaming to become a lamp, and I was more than happy to oblige.
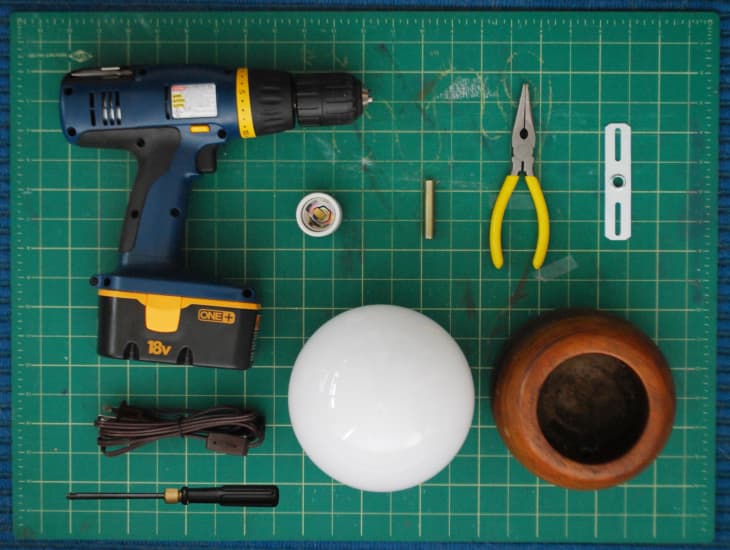
What You Need:
Materials
- Vase or planter
- Keyless socket adapter kit
- Cord set with rotary on/off switch
- Metal crossbar
- Glass or plastic white globe
- Screws
- Light bulb
Tools
- Power drill (and bit)
- Small Phillips head screwdriver
- Pliers
- Wire cutter
Instructions:
FIrst, get your base ready:
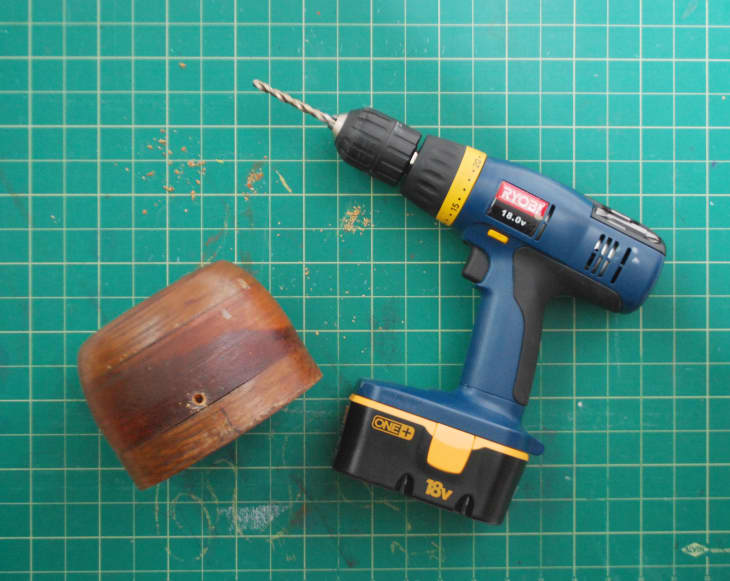
Start by drilling a hole into the side of your lamp base, just large enough to feed the cord through. This one was easy because it’s wood, but it’s also possible to drill through porcelain or glass with the correct bit attachments.
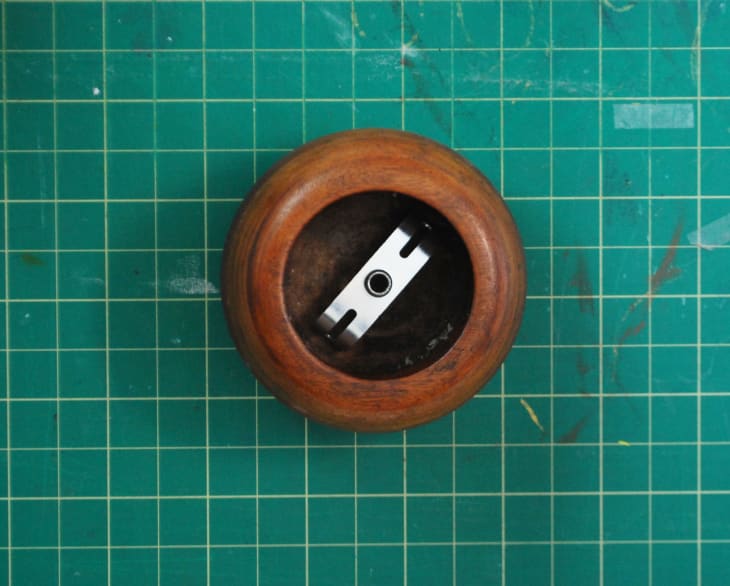
Crossbars are usually for ceiling or wall lights, but we are modifying one for our own purposes — creating almost a little “table” from the metal, which you’ll later screw into the wooden base itself. This will serve nicely as a mount for your socket and light bulb.
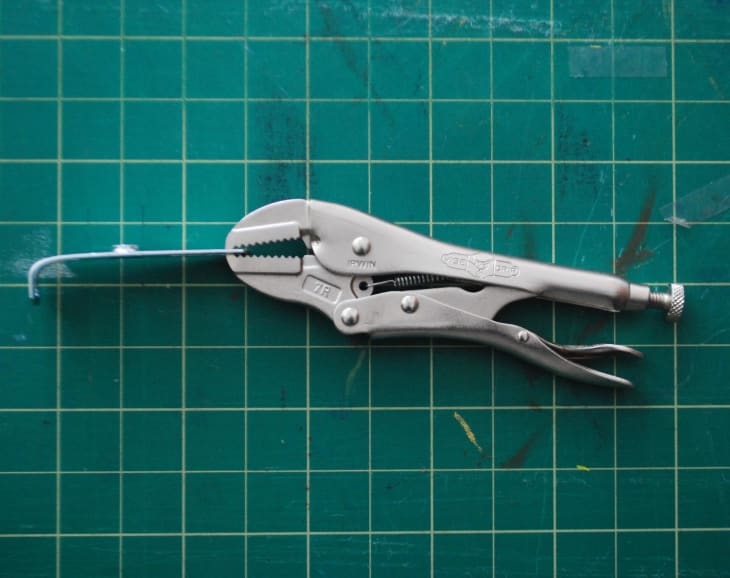
To do this, bend down each end of the crossbar with pliers so it fits inside your vase or planter. Use the edge of a table if you have a hard time getting leverage.
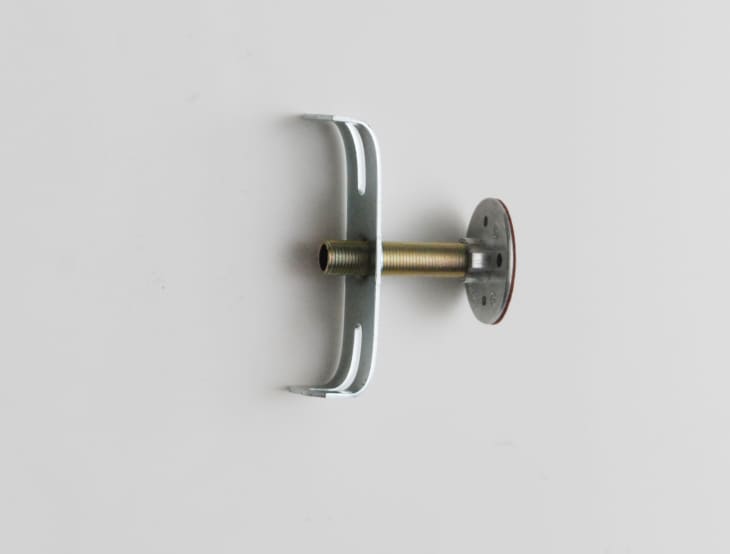
Using the small screwdriver, unscrew the base of your socket, and set the socket aside. Attach the threaded hollow tube (called a nipple) from your kit to the crossbar on one end, and to the socket base on the other.
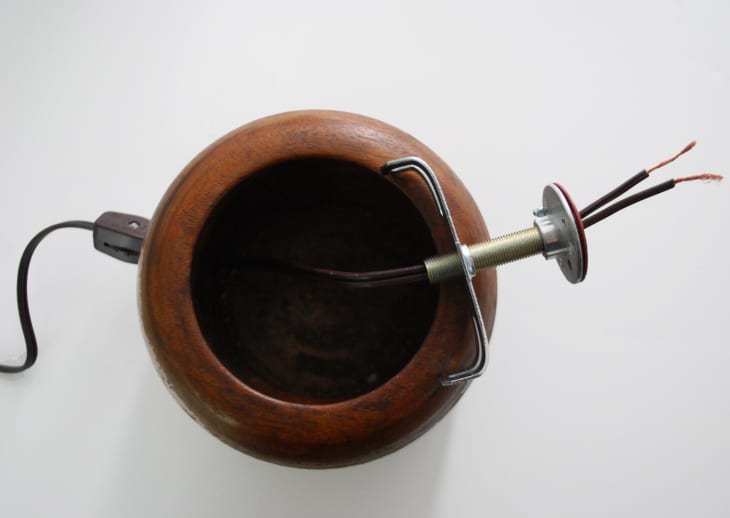
Feed the cord through your new hole in the lamp base, up through the metal nipple, and come out the top of the socket base.
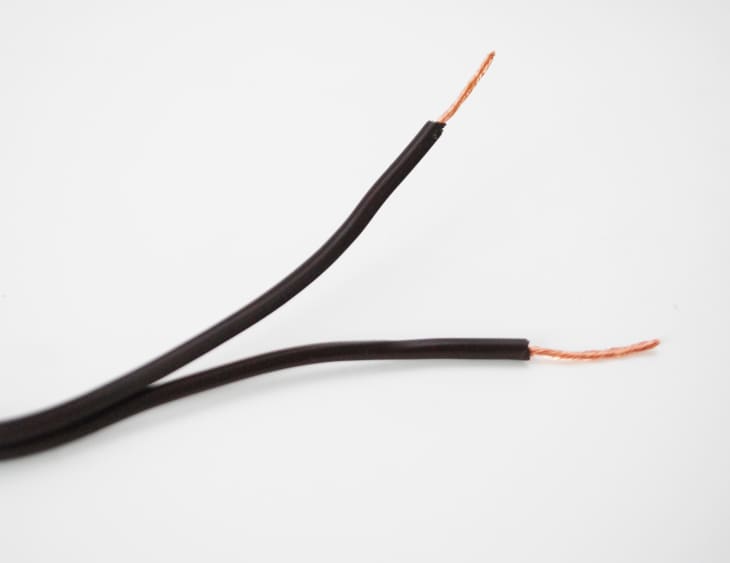
Your lamp cord should have two exposed sections at their ends. If it doesn’t, separate the conjoined ends, then use the wire stripper to expose roughly an inch of bare wire on each end. If you don’t have a wire stripper, gently cut the plastic all around the wire with a knife, then strip it off manually.
Identify the hot and neutral sides of the cord. Even though the cord is brown, you can tell which wire is which, just from feel. The black (or hot) side will be smooth. The other side is ribbed, which makes it the white (neutral) wire. You can also look at the plug. The hot is the smaller prong and the neutral is the wider prong.
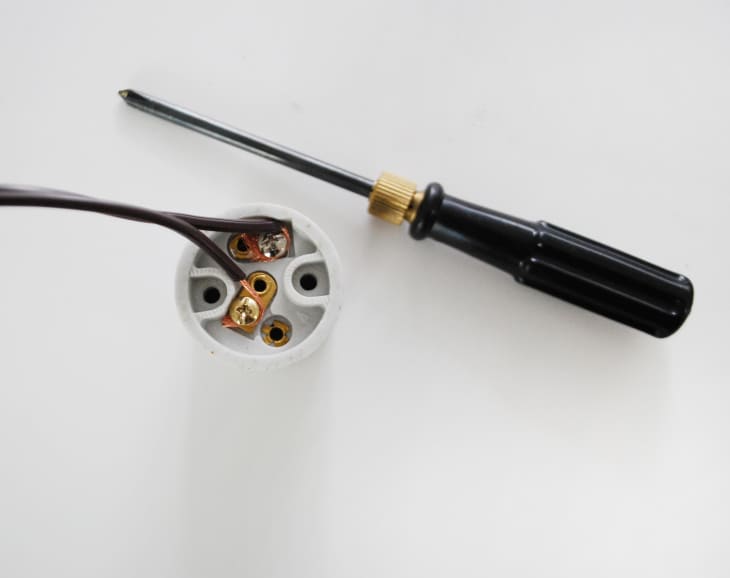
Now, looking at the bottom of the socket, you should see two screws: one silver and one gold. You need to connect the white/neutral wire to the silver screw, and the black/hot wire to the gold screw. Loop the exposed wire around each coordinating screw, then tighten into place. Once they are secure, reattach the socket to its base.

Next, line up your socket, on its now-wired mount, inside your vase. Once it’s where you want it, mark a hole where to place your screws. Pre-drill a hole with a smaller size bit if needed, then screw the mount into place. Make sure it’s good and secure so the socket doesn’t wobble all around inside your lamp.
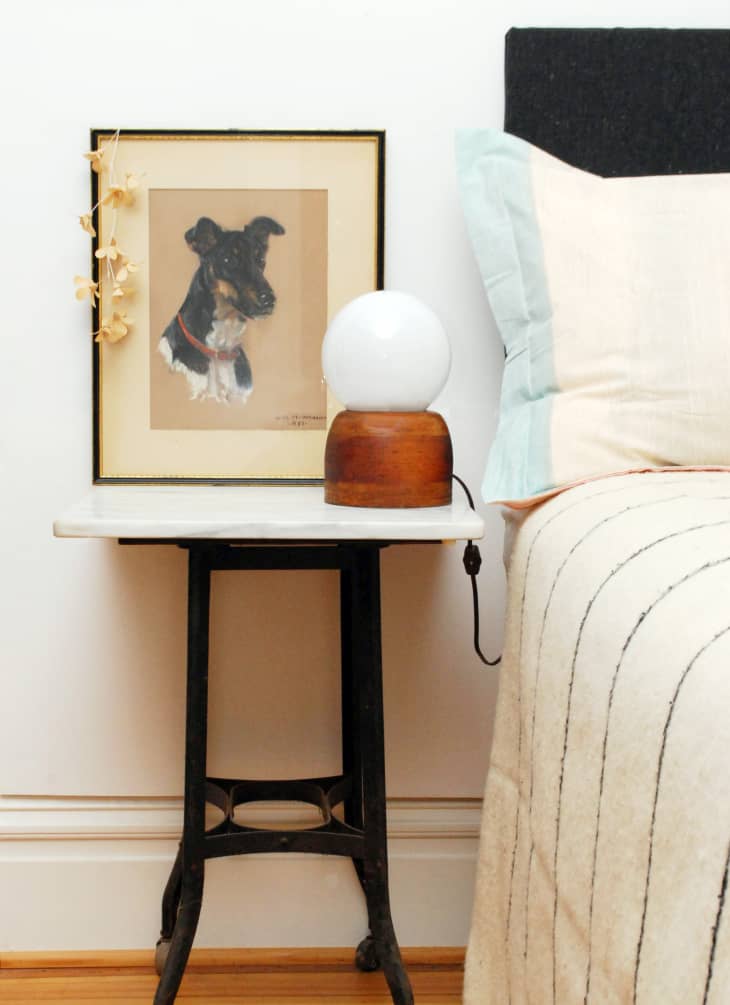
The only thing left to do now is screw in the lightbulb, stick the globe shade on top, and turn on your new table lamp!
Other lamp options:
Canister: Purchase a
lamp kit, with harp. Drill a hole through the lid, insert nipple, then bolt underneath to keep the socket steady. Use a traditional lamp shade vs. the globe.
Vase: As with the canister, use a
lamp kit and harp. Flip the vase over, drill a hole through the bottom, then repeat the same as with the canister above.
Bottle: Purchase a
bottle lamp kit, which comes with a cork or rubber stopper to mount in the mouth of the bottle.
Re-edited from a post originally published May 9, 2013 – DF